WSL2 环境下配置CUDA和CUDNN并部署TensorRT
CUDA
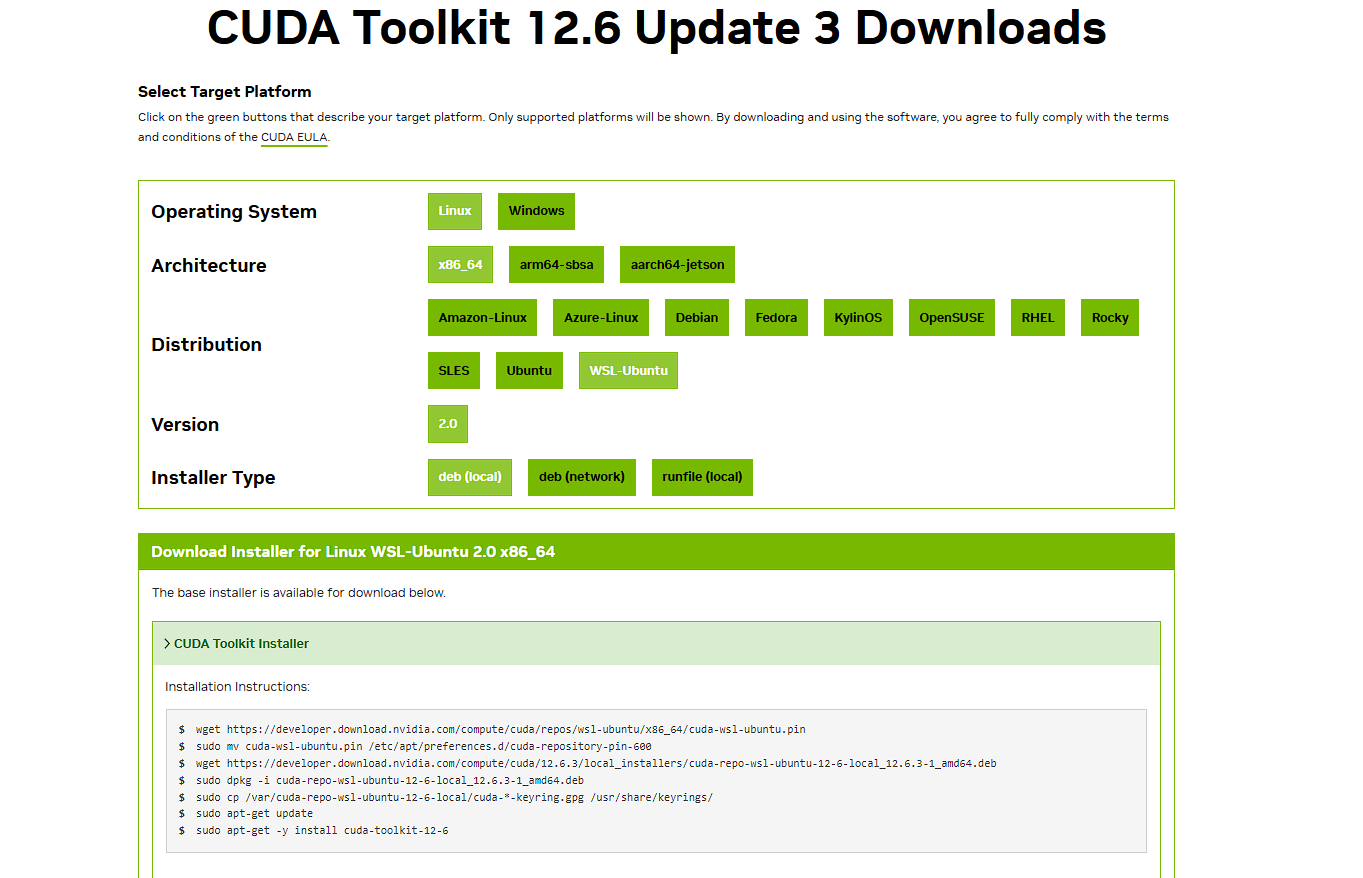
cuda下载地址
1 2 3 4 5 6 7 8 9 10 11
|
vim ~/.bashrc
export CUDA_HOME=/usr/local/cuda-12.6 export PATH=/usr/local/cuda-12.6/bin:$PATH export LD_LIBRARY_PATH=/usr/local/cuda-12.6/lib64:$LD_LIBRARY_PAT
source ~/.bashrc
nvcc -V
|
CUDNN
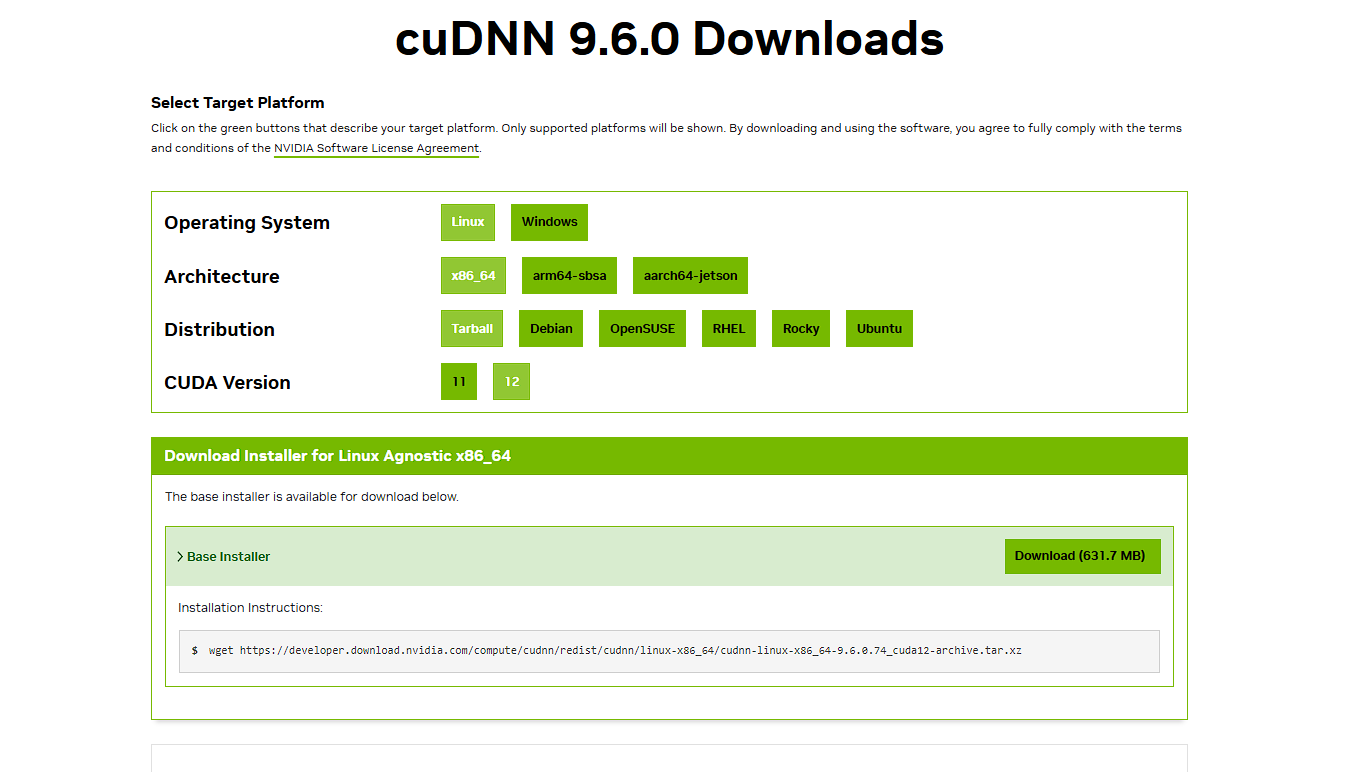
cudnn下载地址
1 2 3 4 5 6 7 8 9 10 11
|
tar -xvf [wget-name].tar.xz sudo cp cudnn-*-archive/include/cudnn*.h /usr/local/cuda-[version]/include sudo cp -P cudnn-*-archive/lib/libcudnn* /usr/local/cuda-[version]/lib64 sudo chmod a+r /usr/local/cuda/include/cudnn*.h /usr/local/cuda-[version]/lib64/libcudnn*
cat /usr/local/cuda/include/cudnn_version.h | grep CUDNN_MAJOR -A 2
|
此方法网上似乎见不到,但是配置简单,我测试没有问题,需要自行测试检验
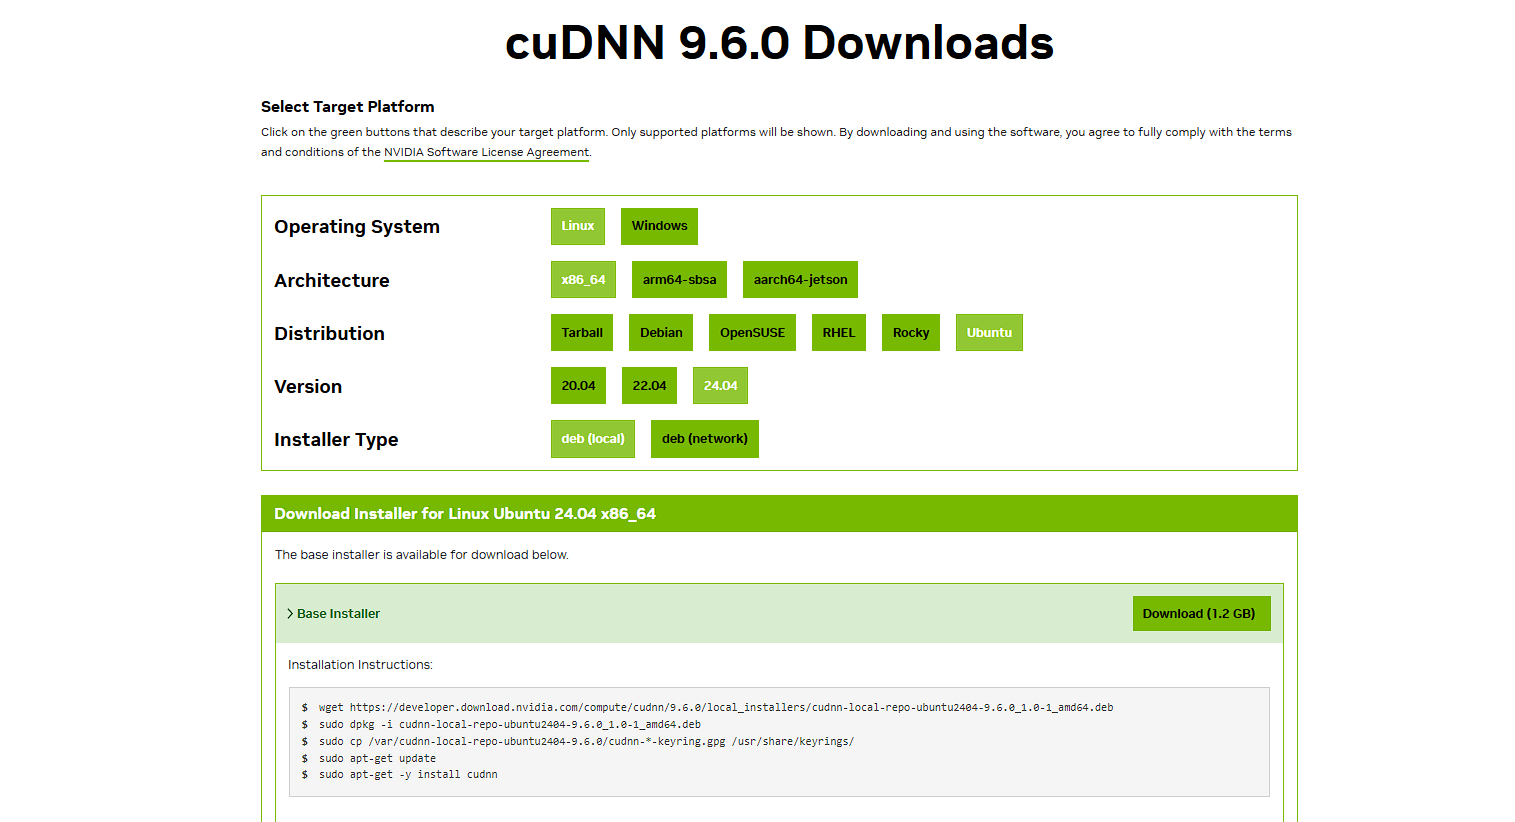
cudnn下载地址
只执行Installation Instructions:内指令即可后边安装cuda的指令不要执行
TensorRT
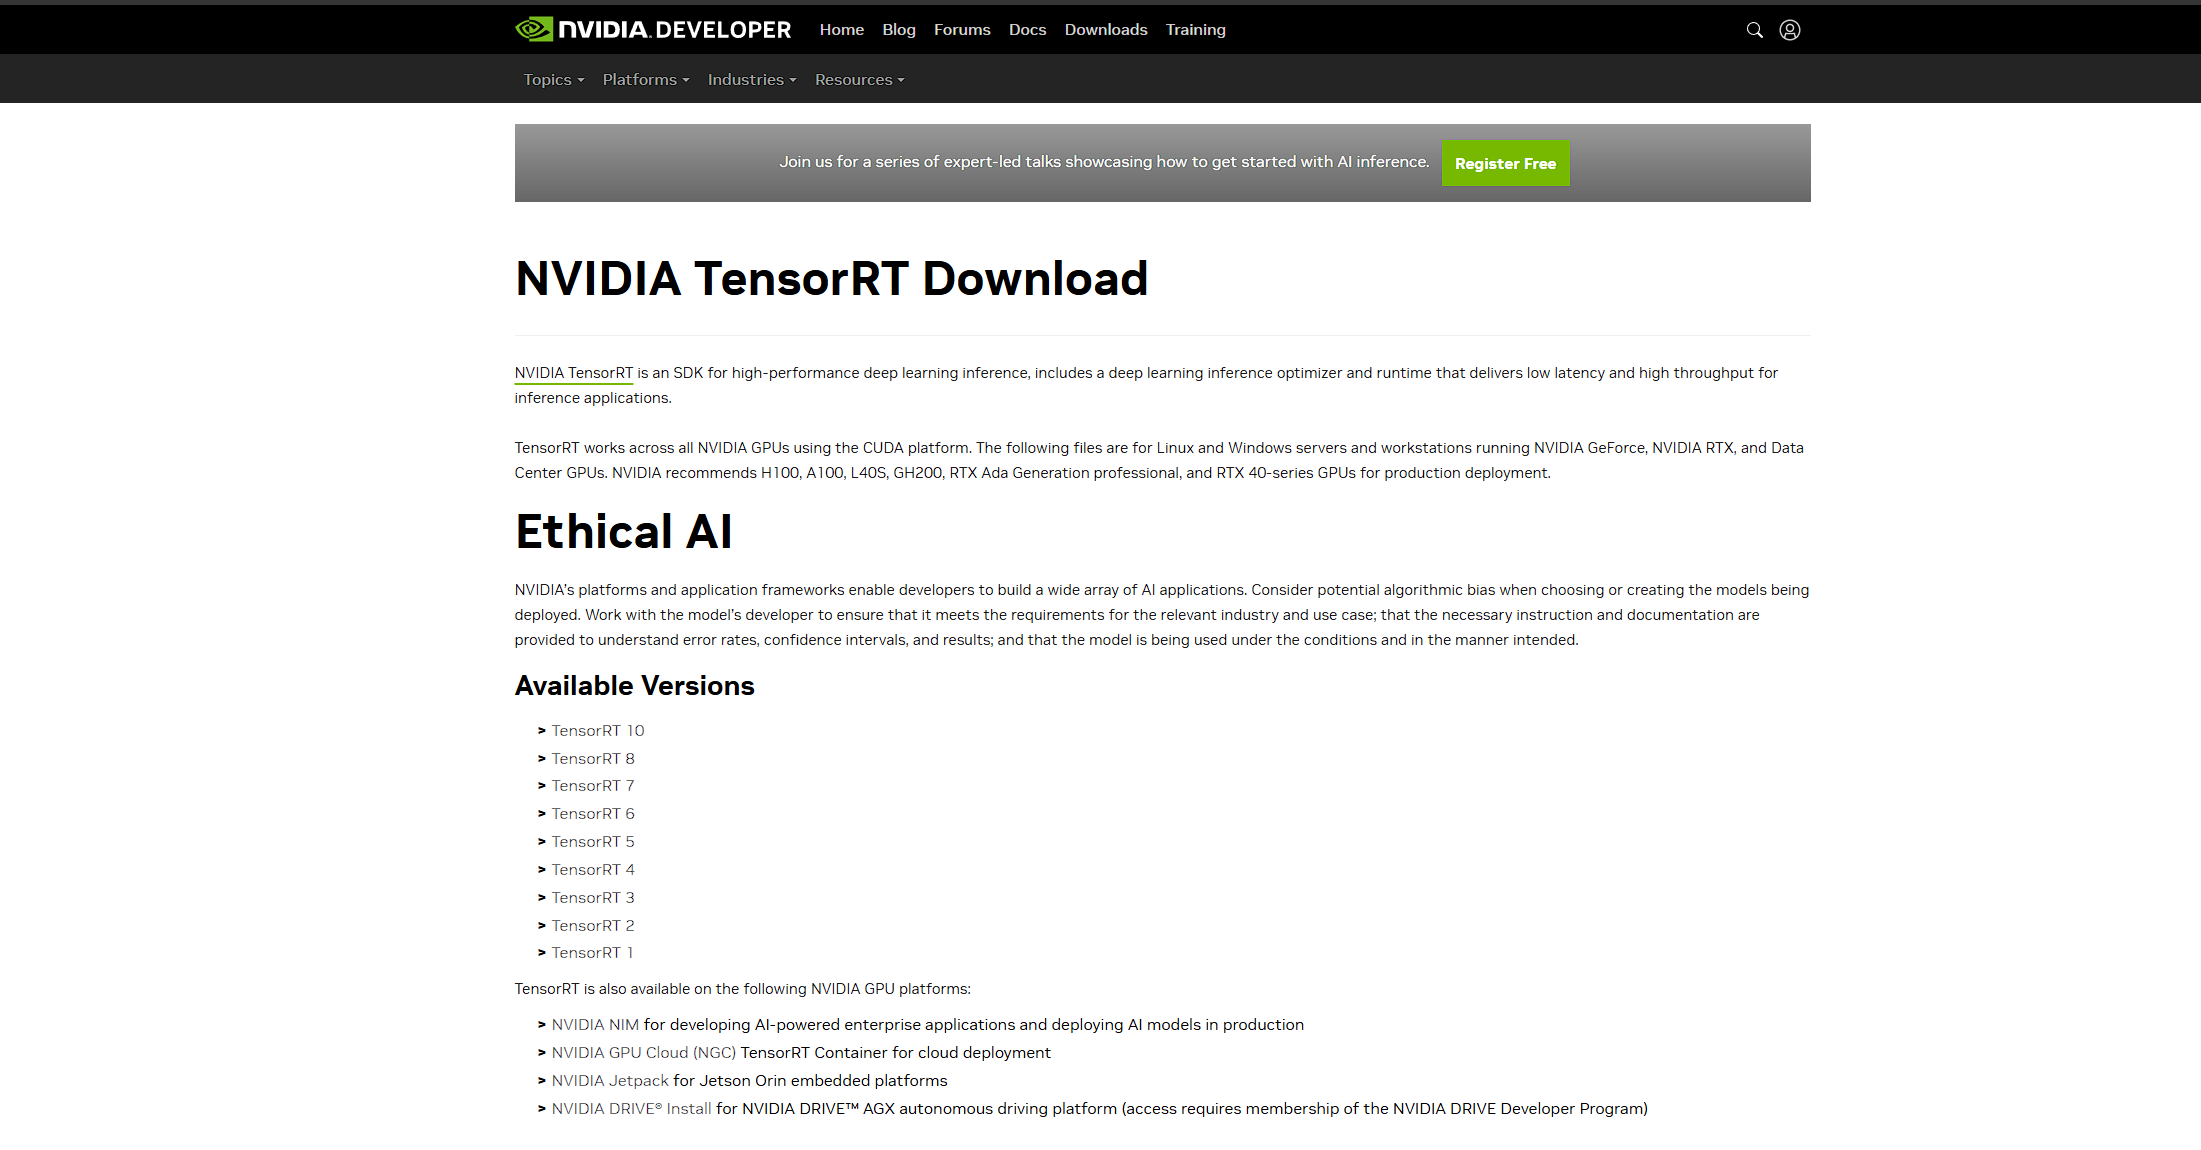
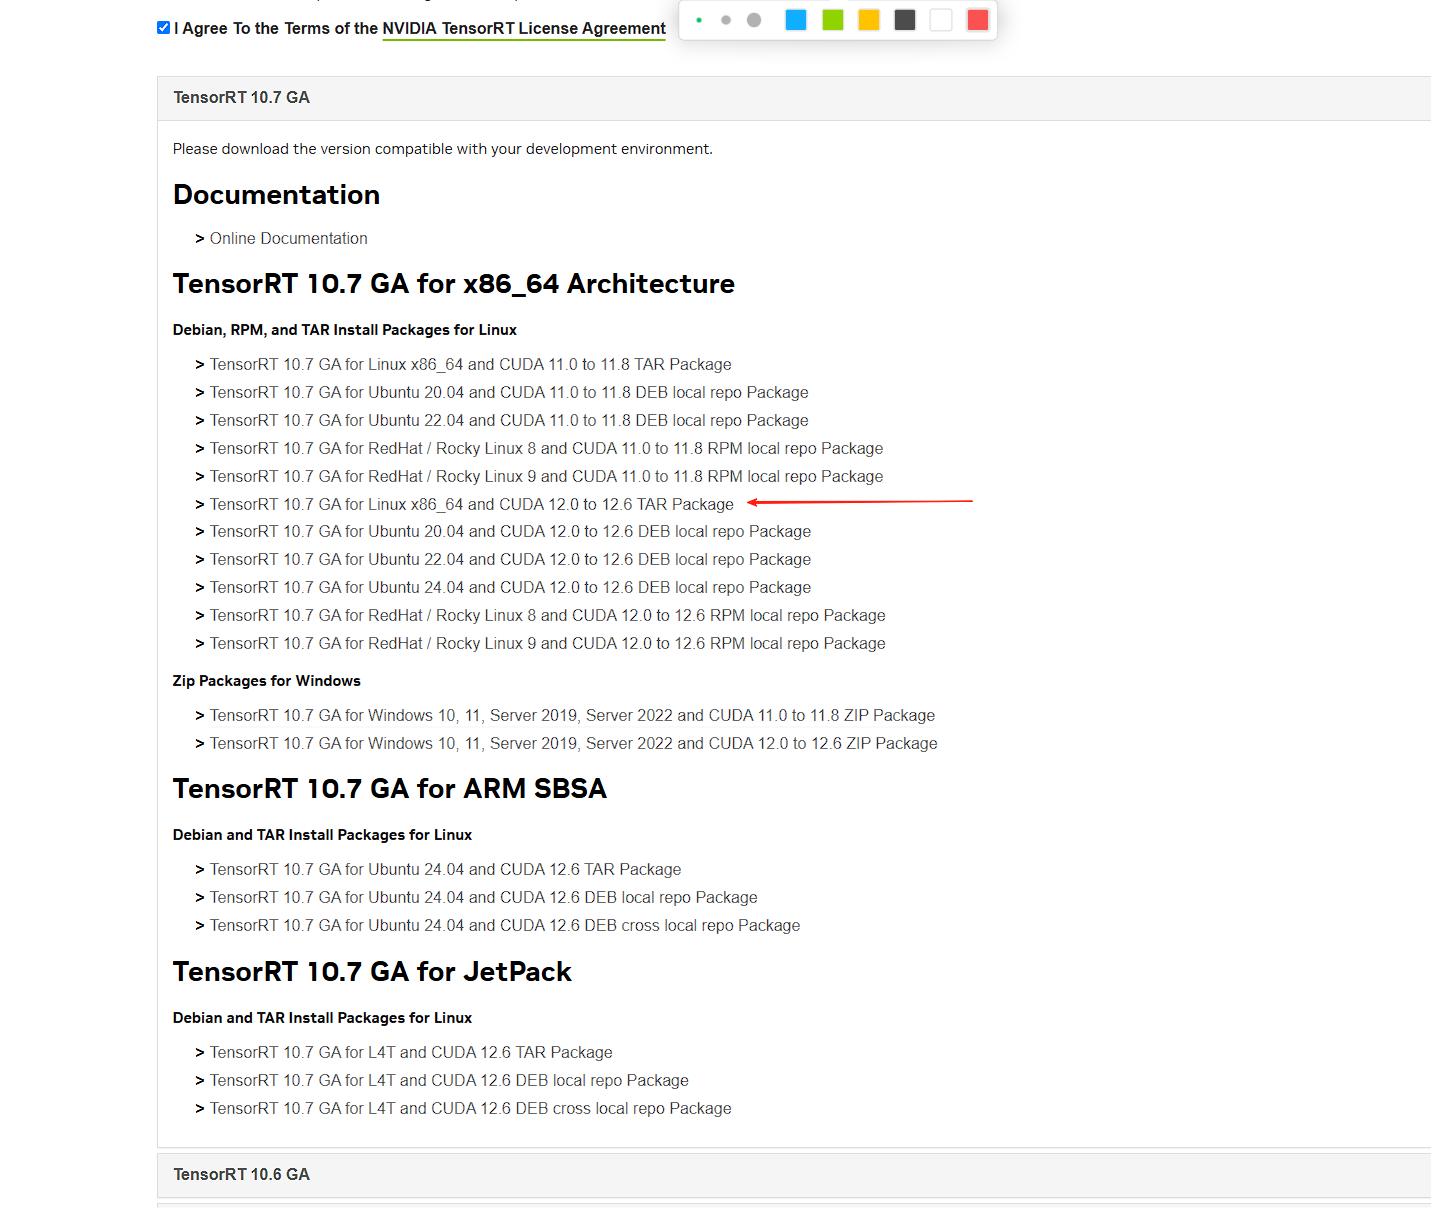
下载地址
官方文档
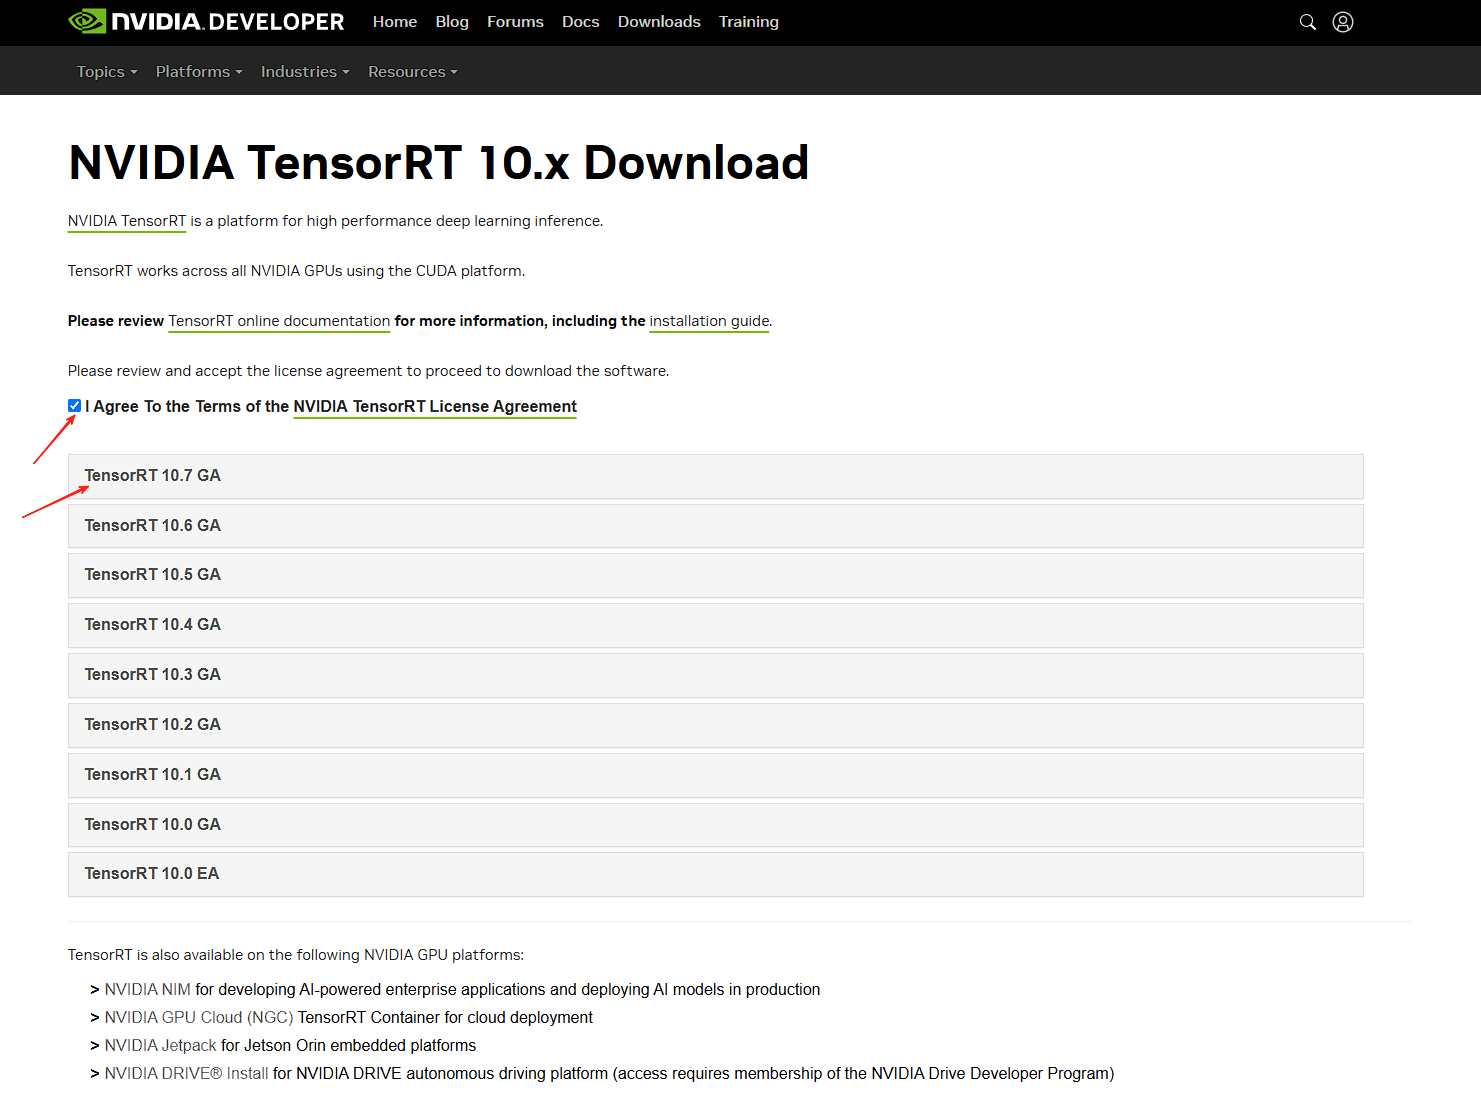
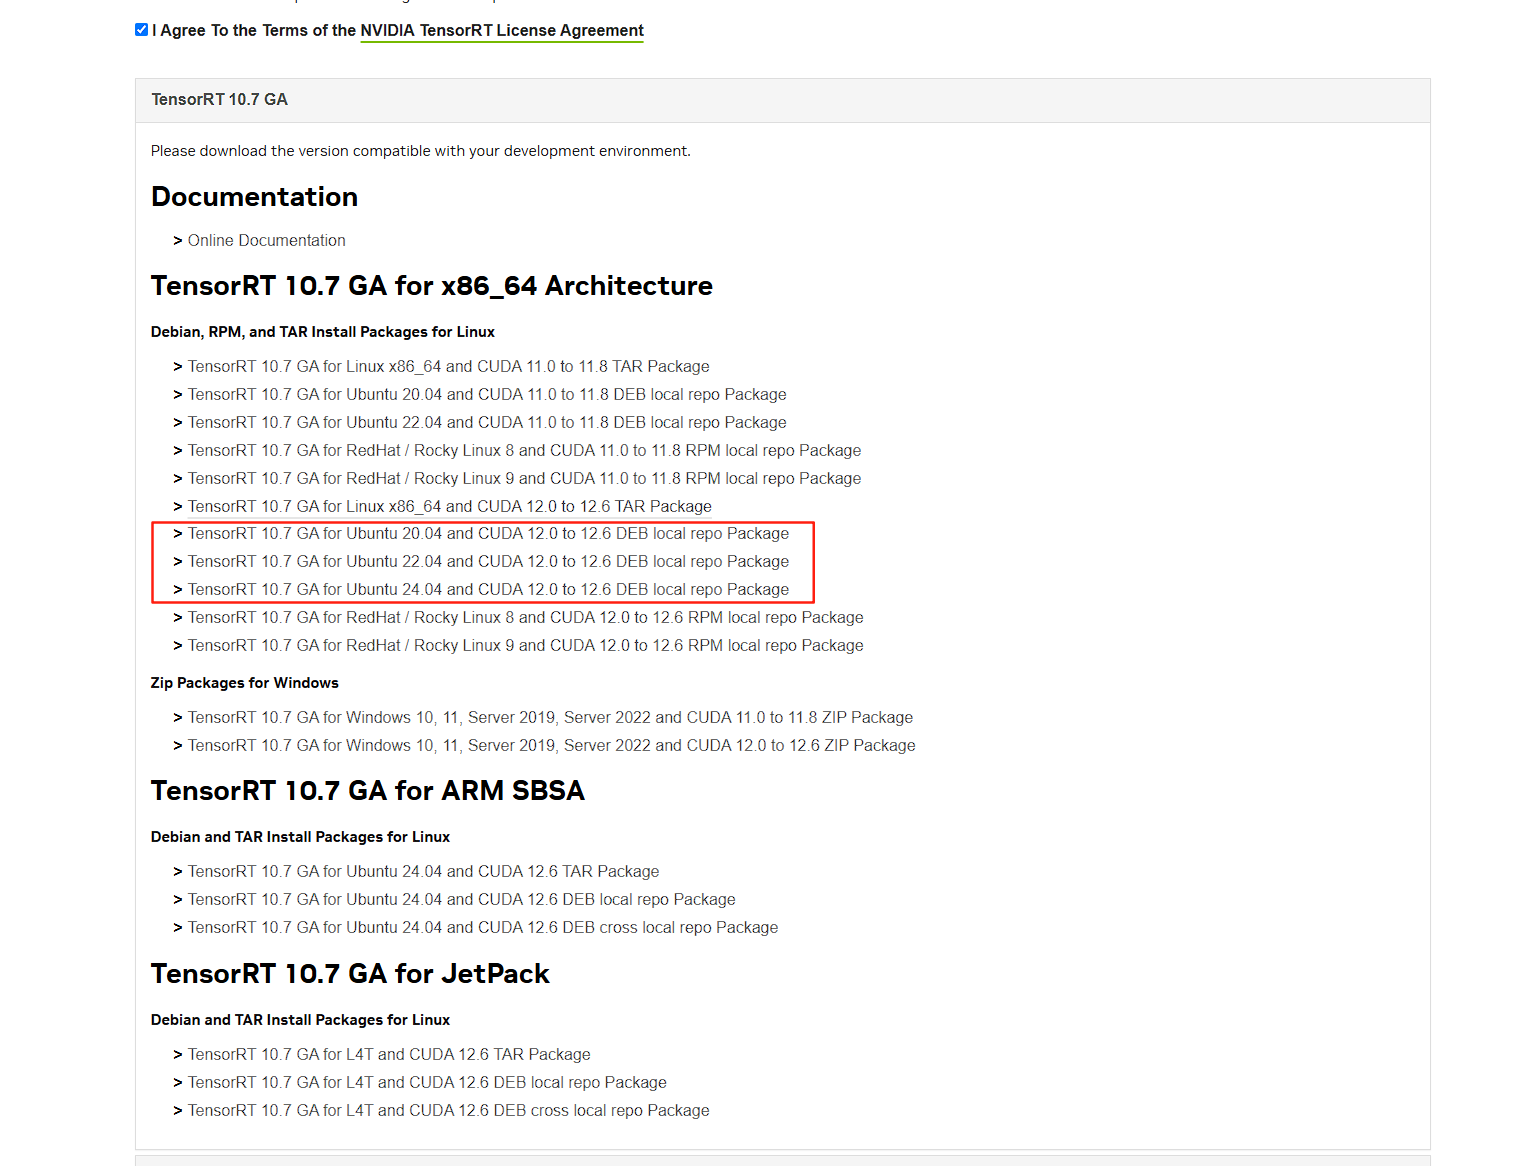
同意许可->选择版本->确认cuda版本->选择自己的指令集和操作系统
1 2 3 4 5 6 7 8 9 10 11 12 13 14
| wget https://developer.nvidia.com/downloads/compute/machine-learning/tensorrt/10.7.0/tars/TensorRT-10.7.0.23.Linux.x86_64-gnu.cuda-12.6.tar.gz
tar -xzvf TensorRT-10.7.0.23.Linux.x86_64-gnu.cuda-12.6.tar.gz
sudo mv TensorRT-10.7.0.23 /usr/local/TensorRT-10.7.0.23
vim ~/.bashrc
export LD_LIBRARY_PATH=/usr/local/TensorRT-10.7.0.23/lib:$LD_LIBRARY_PATH
export PATH=/usr/local/TensorRT-10.7.0.23/bin:$PATH
source ~/.bashrc
|
** 配置项目环境 **
1 2 3 4 5 6
|
pip install /usr/local/TensorRT-10.7.0.23/python/tensorrt-*-cp3x-none-linux_x86_64.whl
python3 -m pip install tensorrt_lean-*-cp3x-none-linux_x86_64.whl python3 -m pip install tensorrt_dispatch-*-cp3x-none-linux_x86_64.whl
|
官方文档
1 2 3 4 5 6 7 8 9 10 11 12 13 14 15 16 17 18 19 20 21 22 23 24 25
| wget https://developer.nvidia.com/downloads/compute/machine-learning/tensorrt/10.7.0/local_repo/nv-tensorrt-local-repo-ubuntu2404-10.7.0-cuda-12.6_1.0-1_amd64.deb
sudo dpkg -i nv-tensorrt-local-repo-ubuntu2404-10.7.0-cuda-12.6_1.0-1_amd64.deb
sudo cp /var/nv-tensorrt-local-repo-ubuntu2404-10.7.0-cuda-12.6/*-keyring.gpg /usr/share/keyrings/
sudo apt-get update
sudo apt-get install tensorrt
sudo apt-get install libnvinfer-lean10 sudo apt-get install libnvinfer-vc-plugin10
sudo apt-get install python3-libnvinfer-lean
sudo apt-get install libnvinfer-dispatch10 sudo apt-get install libnvinfer-vc-plugin10
sudo apt-get install python3-libnvinfer-dispatch
python3 -m pip install numpy sudo apt-get install python3-libnvinfer-dev
|
环境测试
1 2 3 4 5 6 7 8 9 10 11 12 13 14 15 16 17 18 19
| import torch
device = torch.device("cuda:0" if torch.cuda.is_available() else "cpu") print(device)
x = torch.Tensor([2.1]) xx = x.cuda() print(xx)
from torch.backends import cudnn print('cudann is ' + str(cudnn.is_acceptable(xx)))
import tensorrt print(tensorrt.__version__) assert tensorrt.Builder(tensorrt.Logger())
|